Hi, Jake here 👋
We needed a fence to keep our dog from wandering the neighborhood. Chain link was the easy option — until I saw the $5,000 quote. No way I’m spending that much for a dog run. So I decided to see if I could build something strong, cheap, and decent-looking myself.
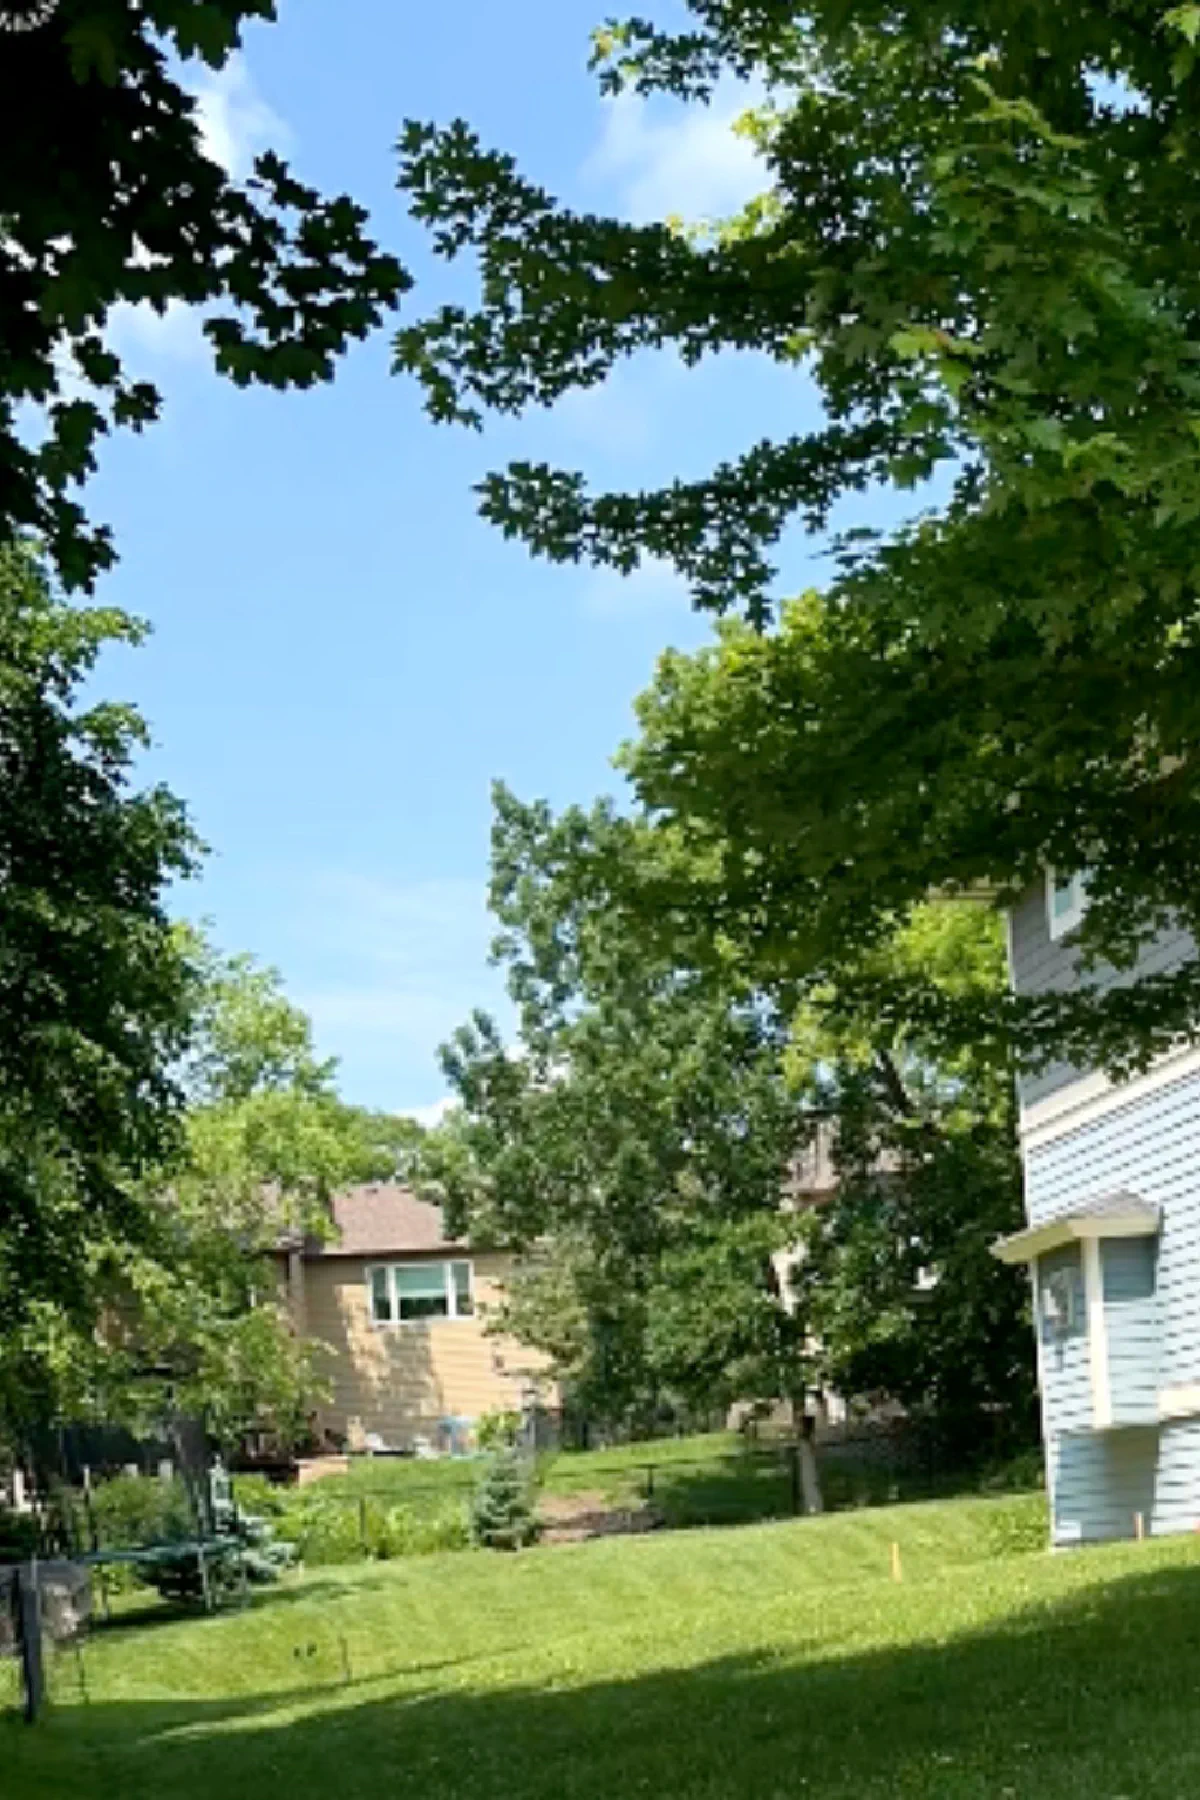
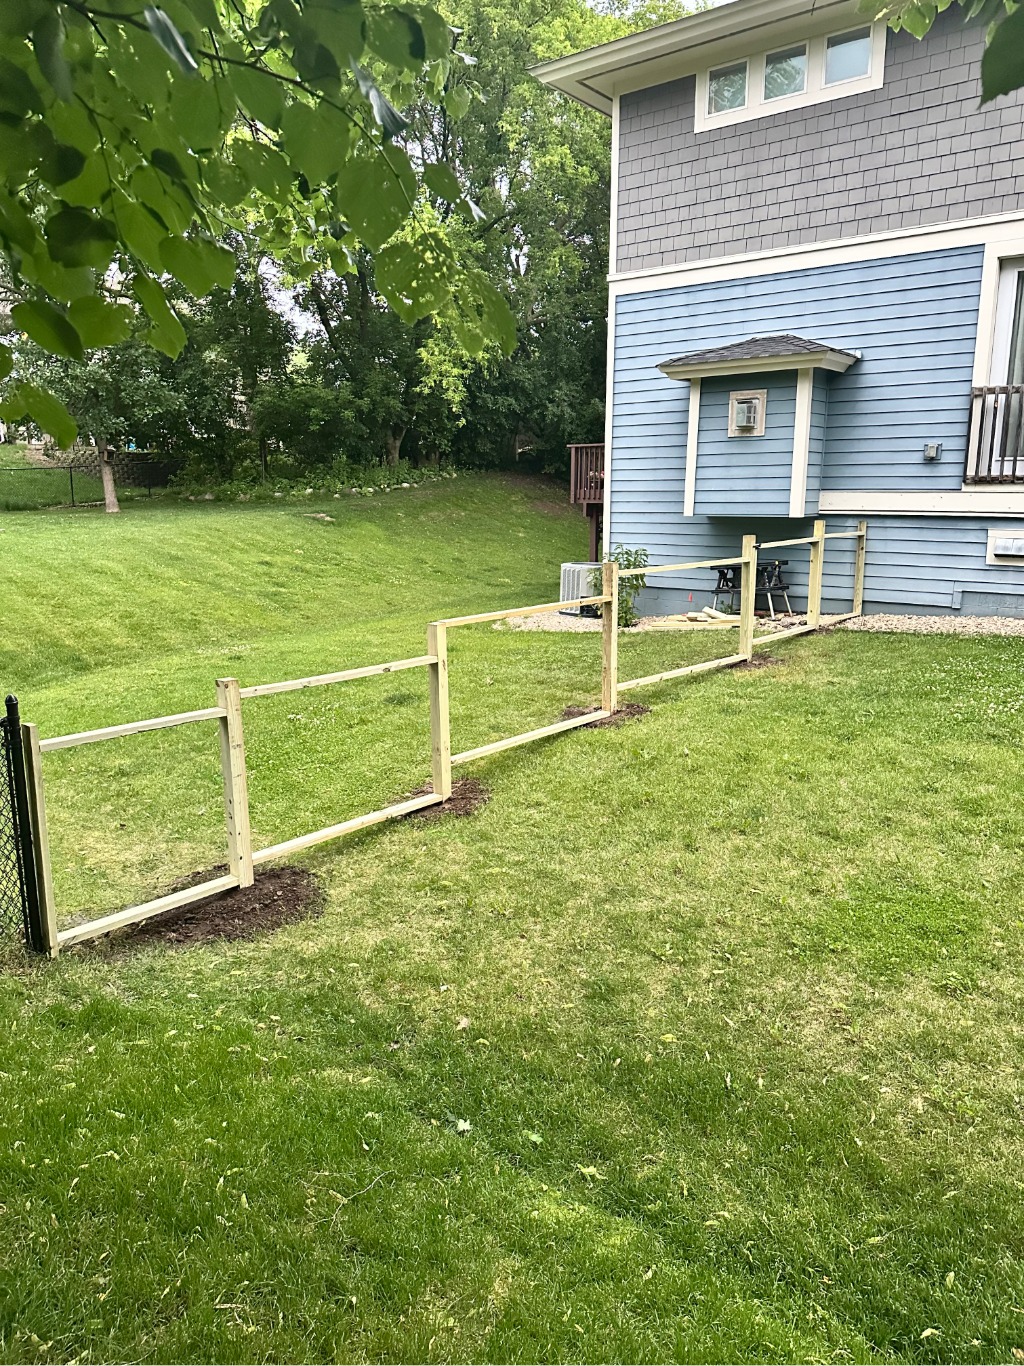
📸 Starting Point
🪚 The Design
Instead of chain link, I went with a simple design:
- Pressure-treated 4x4 posts set ~2 ft deep (shortened to 4 ft when using anchors)
- 2x4 rails top and bottom
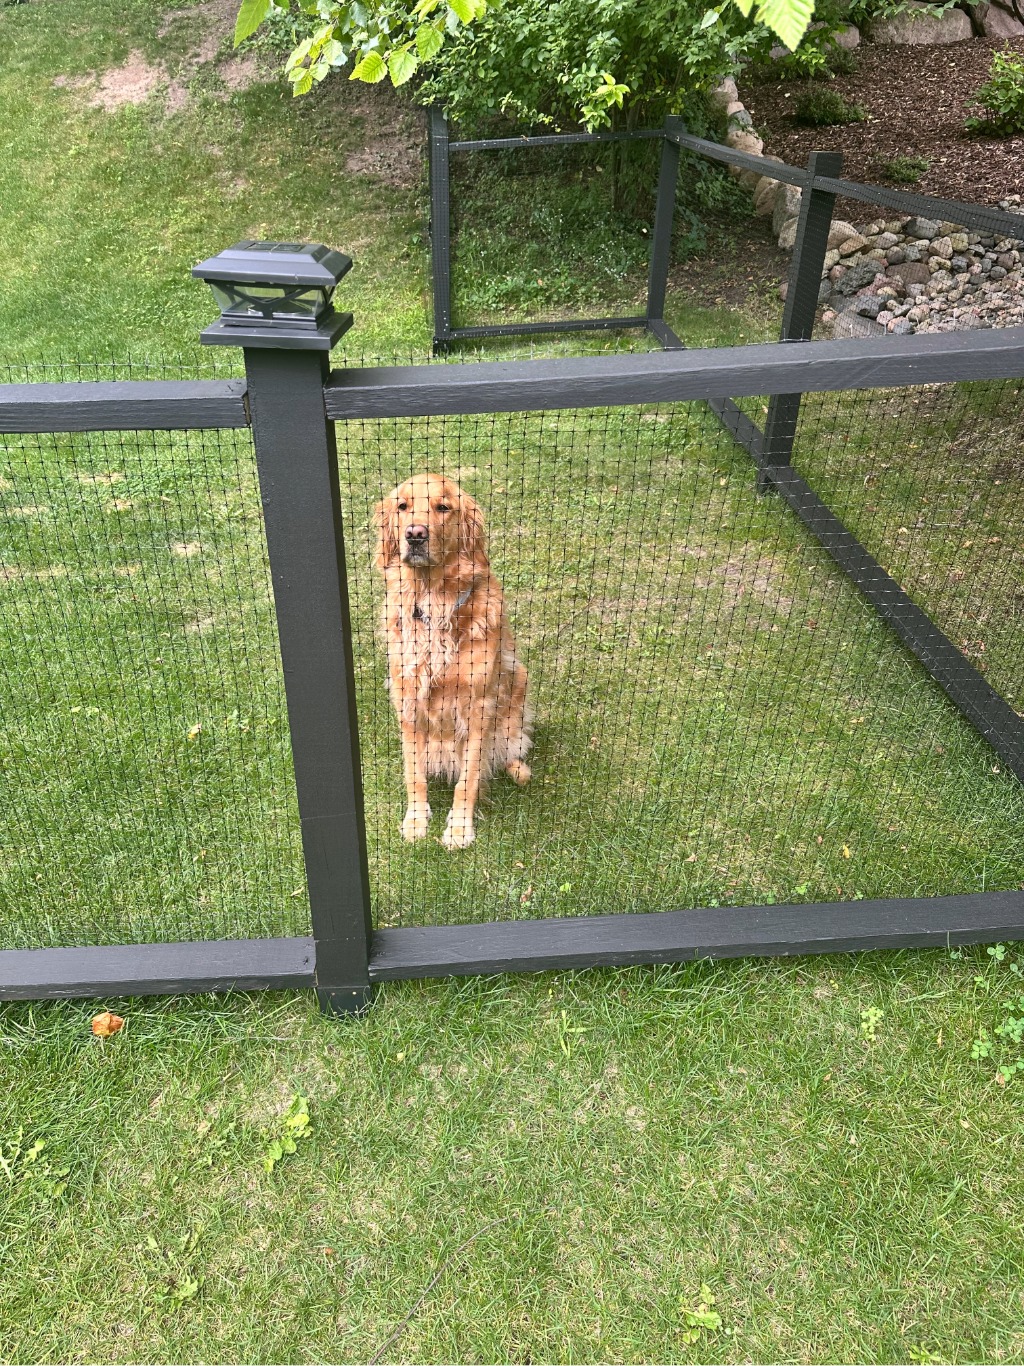
- Deer netting stretched and stapled between posts and rails
Fence Netting (Deer)
Loading product information… Attempt 1 of 3

Lightweight, affordable, and effective — the netting keeps the dog in without blocking the view.
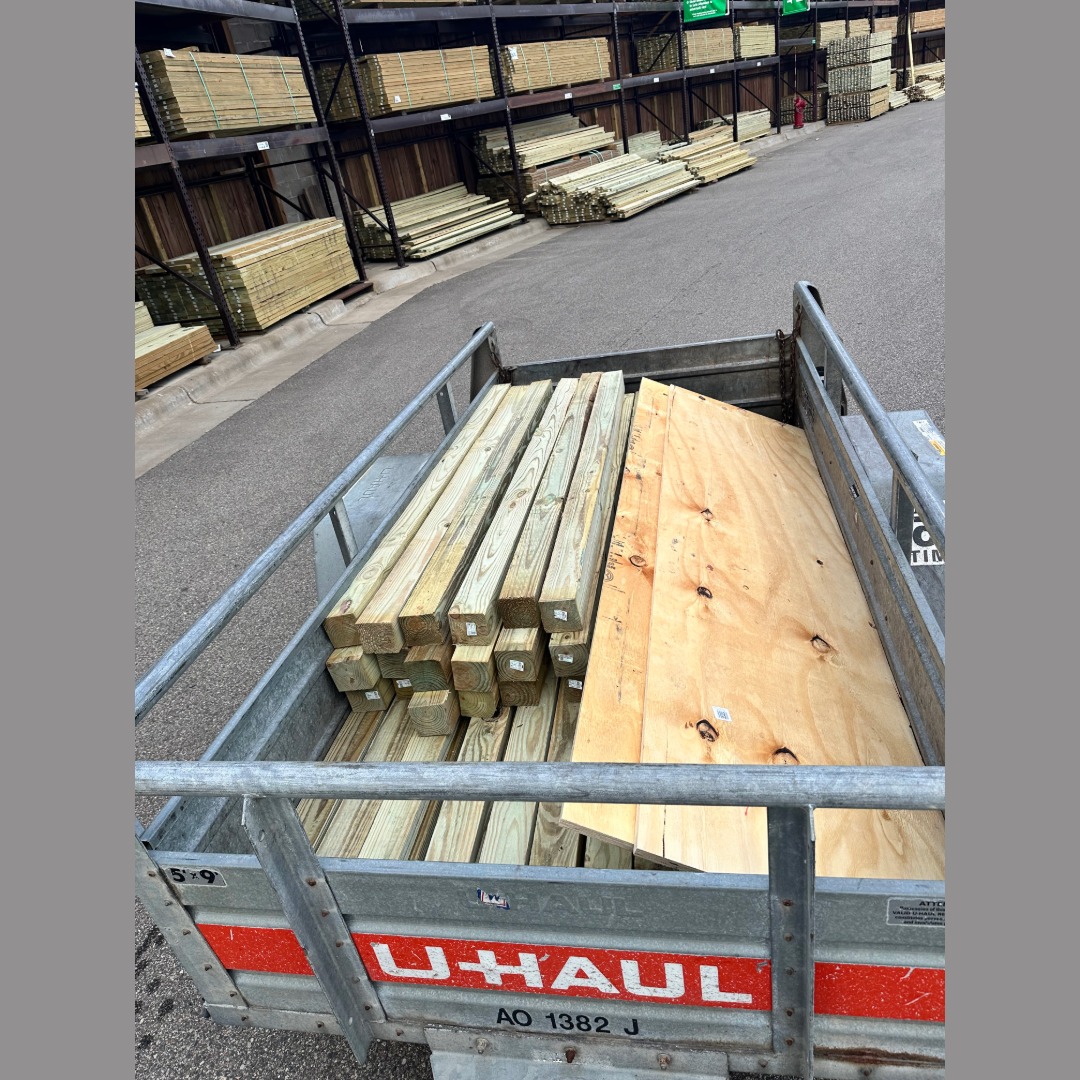
🛒 Picking Up Materials (Menards Experience)
To start, I made a few trips to Menards for posts, rails, paint, and hardware. If you’ve never bought lumber there, you grab a ticket for the size/quantity you need, pay inside, then drive to the outdoor yard in back. The attendants check your receipt and your load before you drive out. Super efficient, though it took me a few laps around the stacks to find straight boards.
📸 Gallery: Menards Pickup

📏 Materials & Dimensions
- Posts: 6 ft pressure-treated 4x4s, ~2 ft buried (no concrete; cut to 4 ft when using anchors)
- Rails: 8 ft pressure-treated 2x4s (top & bottom)
- Netting: Deer netting stapled to rails and posts
- Fasteners: Exterior-grade screws + staples
- Paint: Deck Correct, three gallons, two coats all around
- Extras: Lighted post toppers + gate hardware kit
- Tools: Post hole digger, staple gun, circular saw, mini pocket jig, 3 lb hammer
Stretch 1 (smaller side): ~35 ft long, stepped design to follow grade, includes a gate
Stretch 2 (hill side): ~115 ft long, follows the slope through woods using post anchors
Total: ~150 ft of fencing
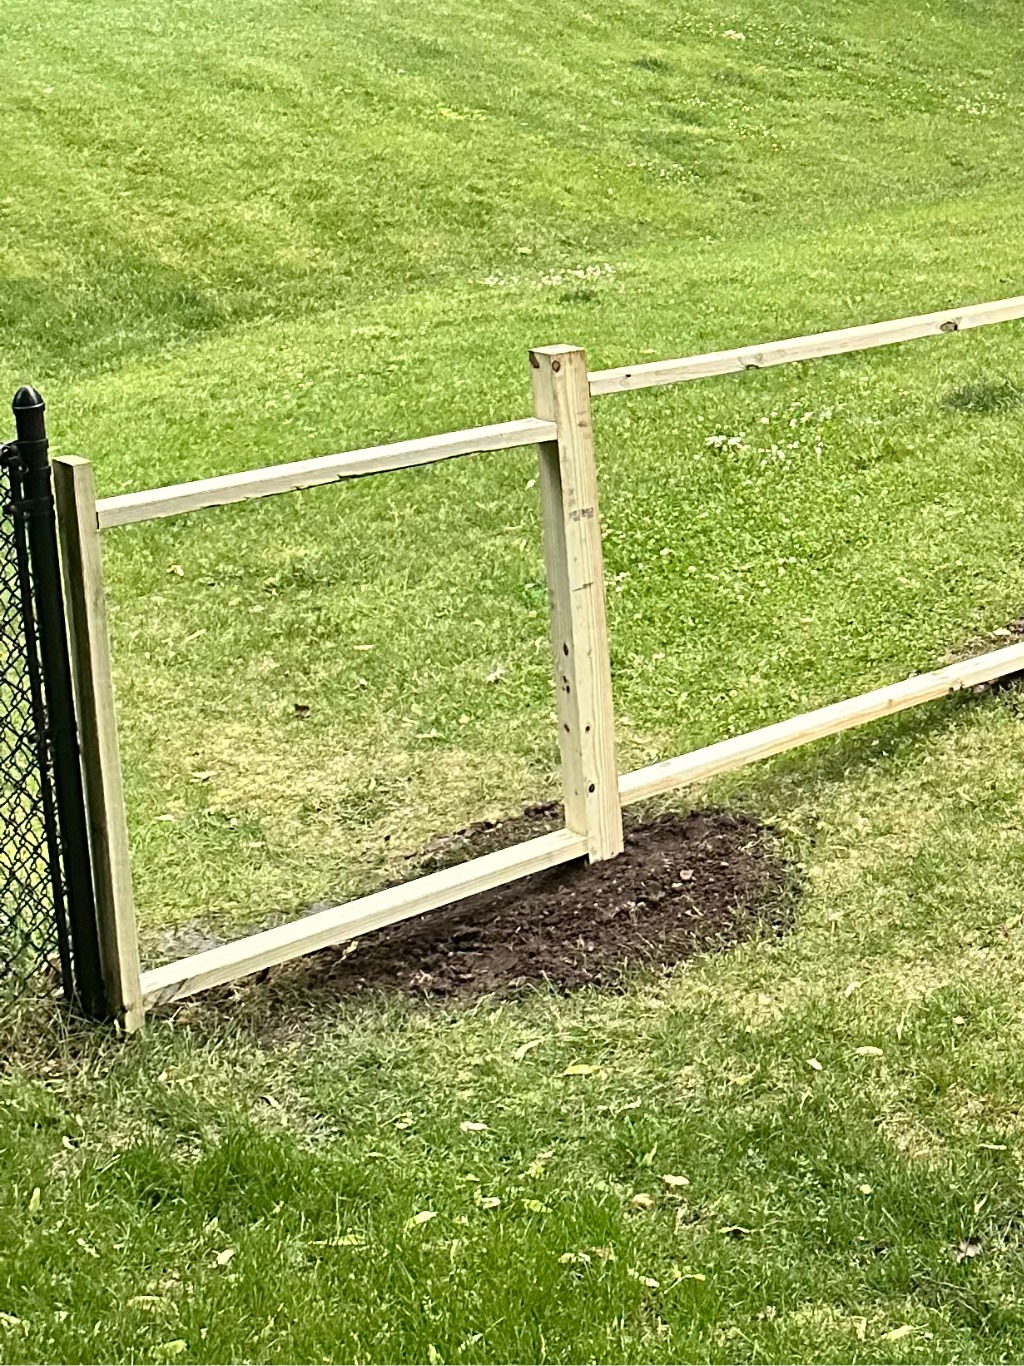
🪵 Stretch #1 — The Gate & Rails
For the smaller side with the gate, I tried out a pocket jig for attaching rails. It worked but was slow. Eventually I switched to just driving screws in at an angle — faster and still solid. A circular saw handled all the cuts cleanly and gave me confidence I didn’t have starting out.
Gate Hardware Kit
Loading product information… Attempt 1 of 3

Pocket Jig
Loading product information… Attempt 1 of 3

Screws
Loading product information… Attempt 1 of 3

Circular Saw
Loading product information… Attempt 1 of 3

📸 Gallery: Stretch 1 — Stepped Run
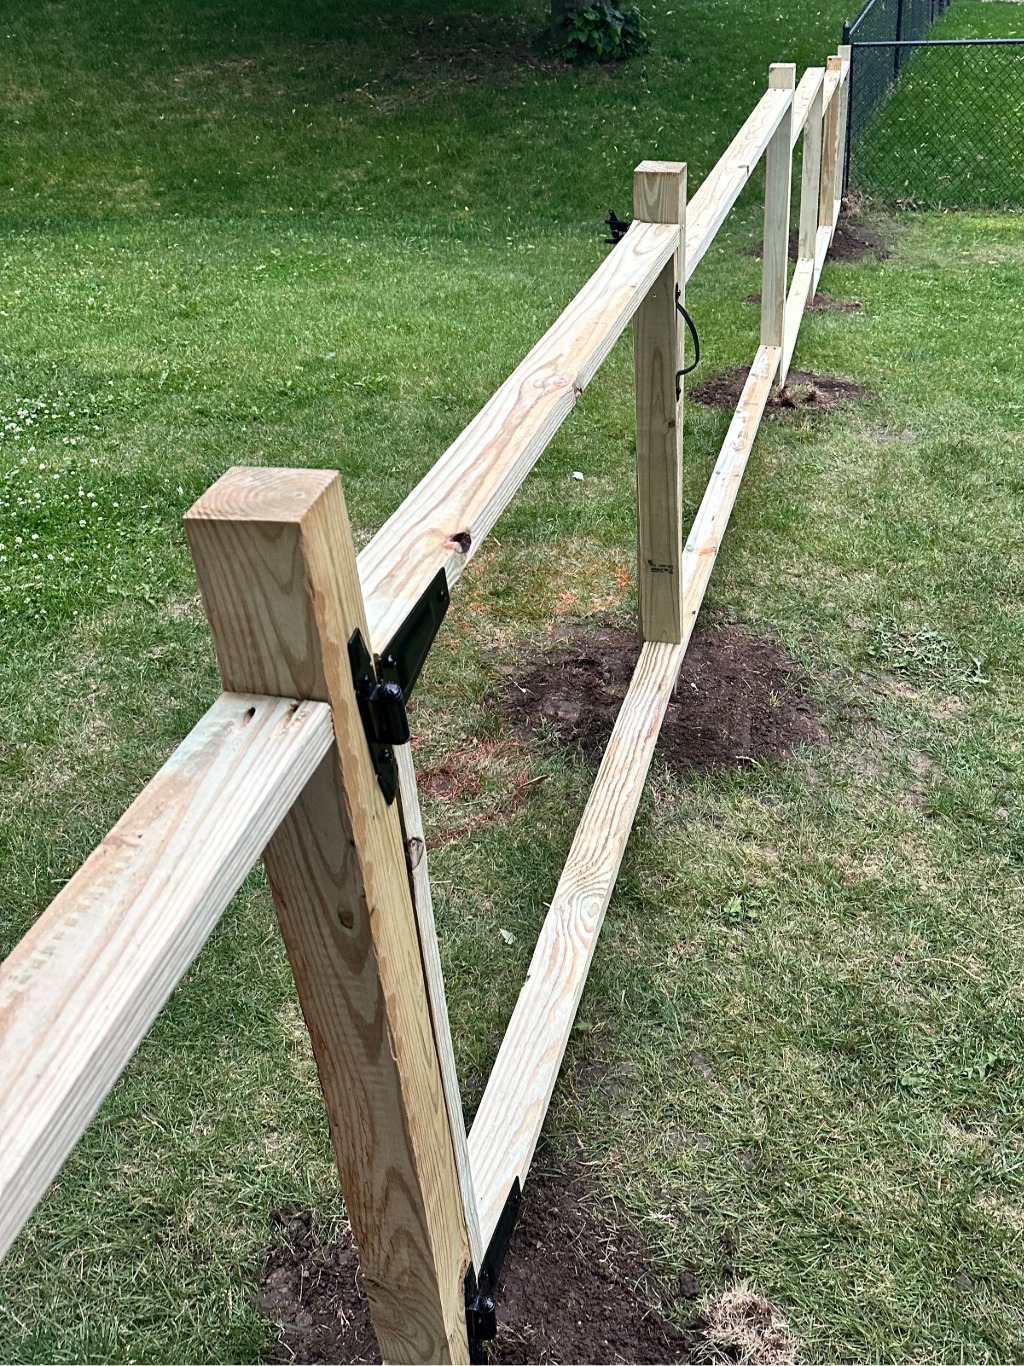
🌳 Stretch #2 — The Sloped Hill
This side was brutal — rocky soil, long slope, and way too much digging. I swapped the shovel for post holder anchors and instantly saved myself hours.
Instead of digging 2 ft holes and wrestling concrete, I cut 6 ft posts down to 4 ft and drove them into these anchors. It wasn’t just faster — it was the difference between finishing the project in a week versus giving up.
Post Anchor Ground Spike 16 inch
Loading product information… Attempt 1 of 3

Post Anchor Ground Spike 24 inch
Loading product information… Attempt 1 of 3


For rails, I ditched the pocket jig and drove screws in at an angle: faster, still solid. A spacer jig held the top rail while I worked solo.
📸 Gallery: Slope Method Build


🎨 Paint & Netting
Two coats of Deck Correct sealed the wood. After that came the unsung hero: deer netting. Lightweight, inexpensive, and almost invisible from a distance — but it keeps the dog in.
The key was pulling it tight and fastening it properly. My staple gun + heavy-duty staples made this way easier than I expected. If you don’t have one, get one — hammering nails would’ve been a nightmare.
Deck Correct
Loading product information… Attempt 1 of 3

Fence Netting (Deer)
Loading product information… Attempt 1 of 3
Staple Gun
Loading product information… Attempt 1 of 3

Staples
Loading product information… Attempt 1 of 3

✨ Finishing Touches
For style and function, I added solar caps on the posts for nighttime visibility, plus some simple flat caps on the rest. Small detail, but it makes the fence look finished.
Fence Posts Solar Caps
Loading product information… Attempt 1 of 3

Fence Posts Caps
Loading product information… Attempt 1 of 3

💵 Material Costs
| Item | Qty / Size | Cost |
|---|---|---|
| 4x4 Pressure-Treated Posts | 20 (6 ft, some cut) | $211.60 |
| 2x4 Pressure-Treated Rails | 36 (8 ft) | $230.04 |
| Mini Pocket Jig | 1 (#18) | $18.00 |
| Screws | Boxes | $32.97 |
| Stakes & Rope | For layout | $12.27 |
| Circular Saw | 1 | $100.00 |
| Deck Correct Paint | 3 gallons | $60.00 |
| Brushes | 2 | $5.00 |
| Lighted Post Toppers | 12 caps | $50.00 |
| Gate Hardware Kit | 1 kit | $25.00 |
| Deer Netting | 1 roll | $55.00 |
| Staple Gun | 1 | $30.00 |
| Staples | 1 box | $10.00 |
| Post Stakes 16 Inch | 10 | $108.00 |
| Post Stakes 24 Inch | 6 | $70.00 |
Total: $977.88 in materials
Savings vs. chain link quotes: $4,022.12
📝 Lessons Learned
- Rocks will test your patience — have alternate post spots in mind.
- For a non–load-bearing fence, packed dirt works; concrete optional (but smart at gates).
- Circular saw confidence pays off.
- Post holders save time in rocky or sloped ground (24" are sturdier).
- Do not drive anchors with a 4x4 — use a 2x4 + heavy hammer.
- Spacer tricks make solo-building realistic.
- Deer netting is underrated: cheap, quick, and stronger than it looks.
- Staple gun + staples are worth every penny.
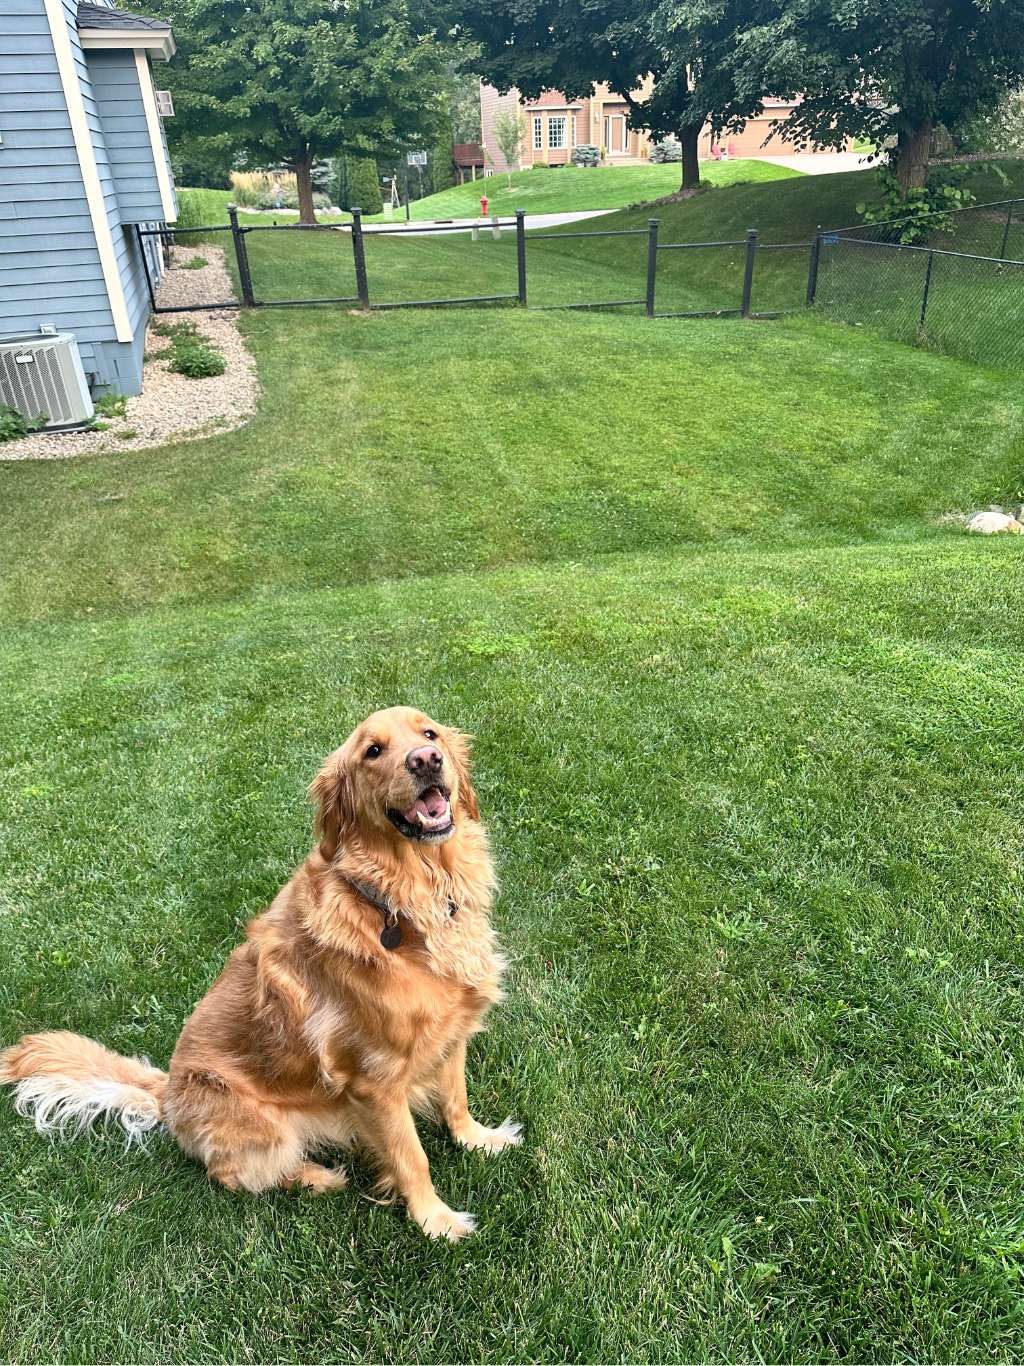
🐕 The Result
End of the day, it’s not perfect, but it’s ours. The dog’s safe, the view’s open, and my budget survived. Six project days later, I learned way more than I would’ve writing a check.
📸 Gallery: Finished Fence